Parts of a stem
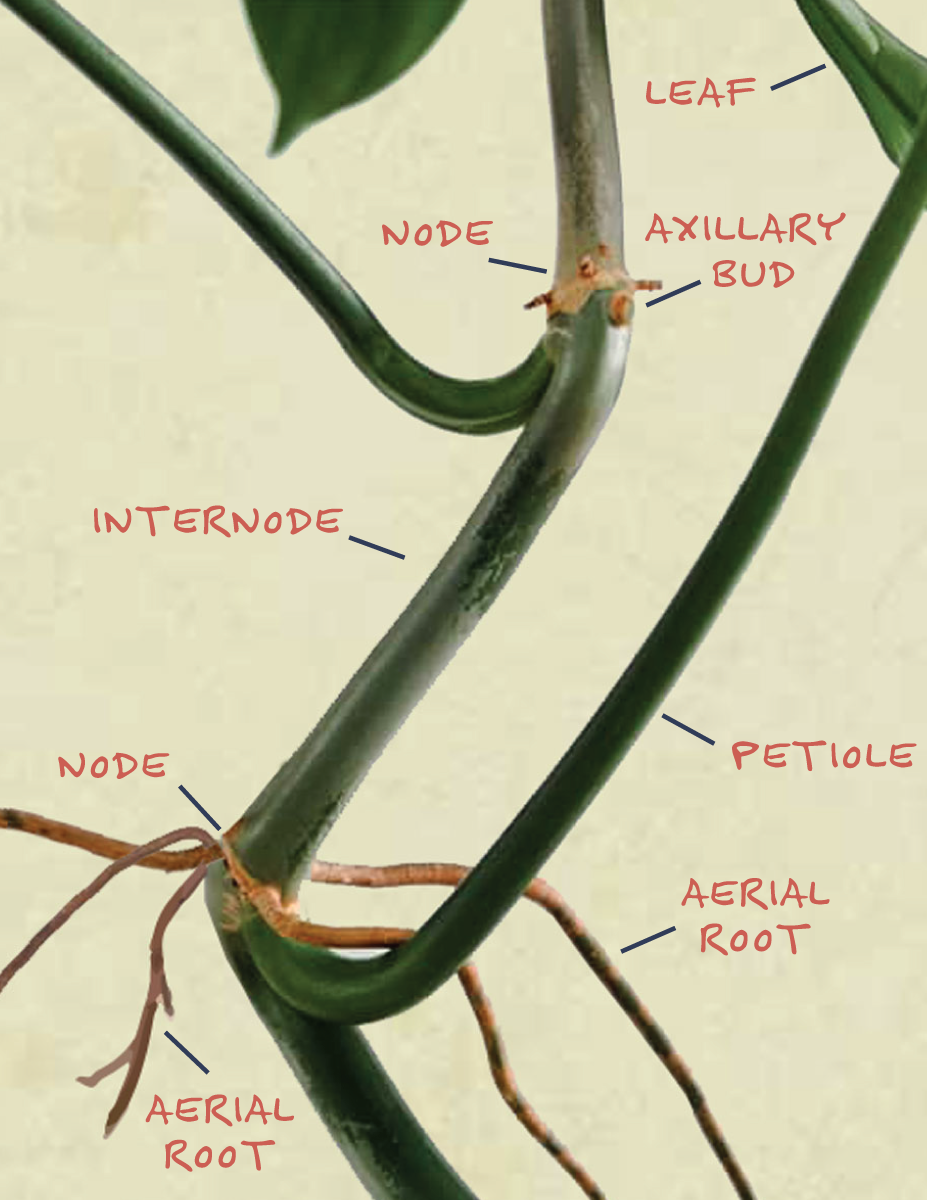
Internode
The internode is the stem, a name for the space between two nodes.
Node
Nodes are the ridges around the stem of the Monstera
Petiole
The stem that attaches the leaf to the main stem or branch.
Axillary bud
Buds that form between the bottom of the petiole and the main stem. Axillary buds may develop into a side stem, a leaf or a flower. An axillary bud is necessary for new growth to emerge from a cutting.
Aerial Root
These specialized roots that dangle from stems have a dual function. They help with stability, allowing the Monstera to cling to elements in their tropical rainforest environment. Secondly, aerial roots can absorb moisture and nutrients from the air, supplementing the plant’s diet and promoting growth.
WATER
SOIL
AIR
ROOT
1. Water Propagation
When to plant propagated cuttings
Place the container in bright, indirect sunlight.
To plant your cutting, first make a hole in the center of the soil an spiral the root cuttings around one another so they are in a bunch, placing them into the center hole.
People have great success adding rooting hormone to the soil and add more soil on the top of the planted cuttings and water thoroughly.
Watch the soil and keep it moist over the next few weeks.
How long until roots grow?
2. Soil Propagation
Many commercial nurseries plant cuttings directly into soil for efficient plant production. While this method can be effective, particularly with fresh, healthy cuttings, it carries the most drawbacks compared to other techniques. The type of soil you use is crital for the plants nutrient needs.
We recommend a combination of these 5 elements:
1. Bark for maximum aeration. Look for “orchid bark,” “bark fines”, or “reptile bark.”
2. Pumice are small rocks similar to perlite, but have less dust and are heavier.
3. Coco Coir absorbs lots of water but retains a light fluffy texture.
4. Activated Charcoal, standard horticultural charcoal is basically just burned bark. It is effective for removal of impurities in the water and soil.
5. Worm Castings which contain nutrients and beneficial microbes to help your plant grow..
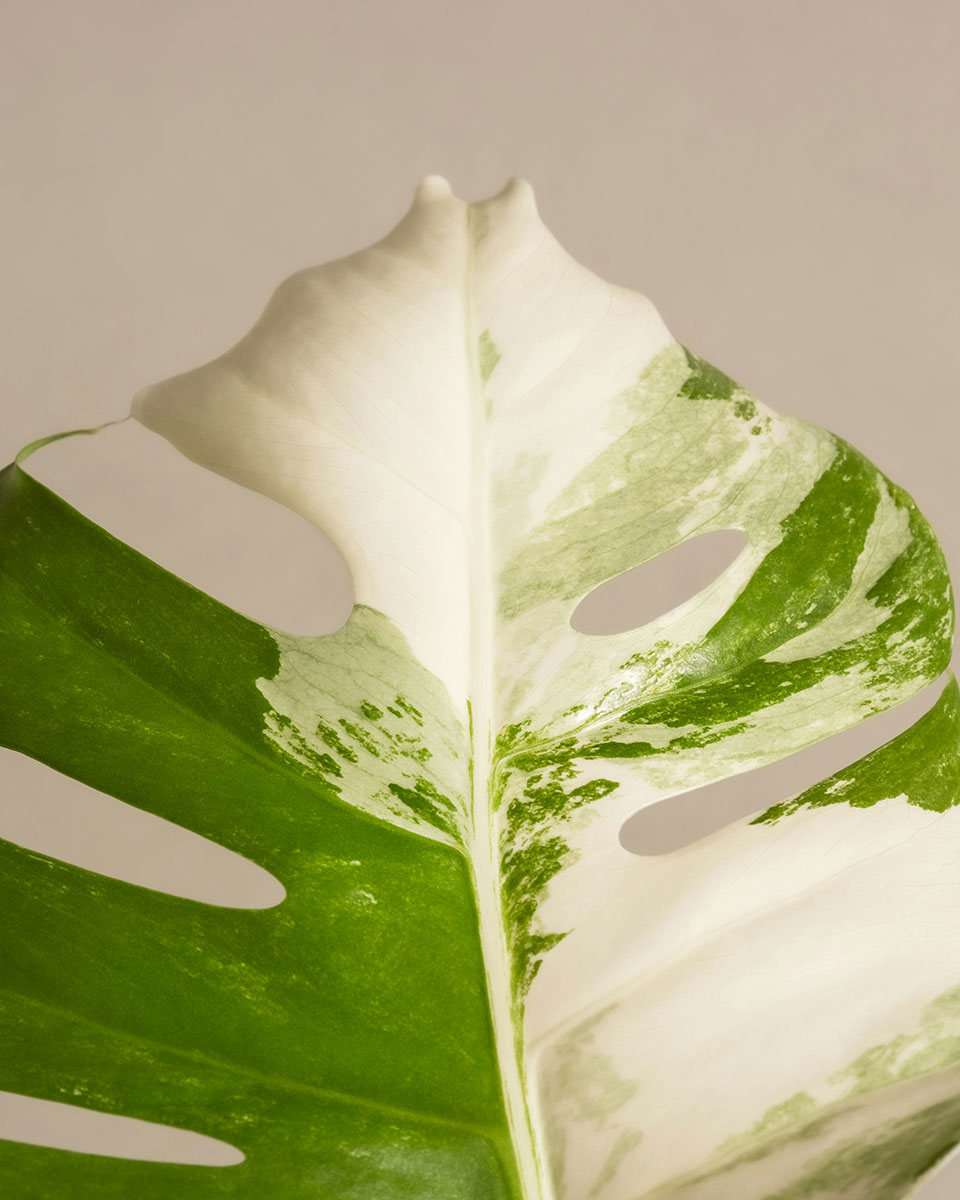
Do you need an aerial root?
Aerial roots are not essential for a cutting to develop roots, but they do provide an advantage by significantly shortening the rooting process.
If your cutting has aerial roots, even if they appear awkwardly shaped, avoid removing them. Only trim aerial roots if they are broken, mushy, or black. Thin, pale aerial roots with peeling outer layers have rotted and should also be removed.
For cuttings without aerial roots, new roots will form directly from the stem. While propagating, watch for small white, crystal-like bumps—these are signs that roots are beginning to develop.
3. Air Layering
This method is highly effective for propagation because it allows the cutting to grow roots while still connected to the parent plant. By skipping the unrooted phase, air layering maximizes the cutting’s chances of success.
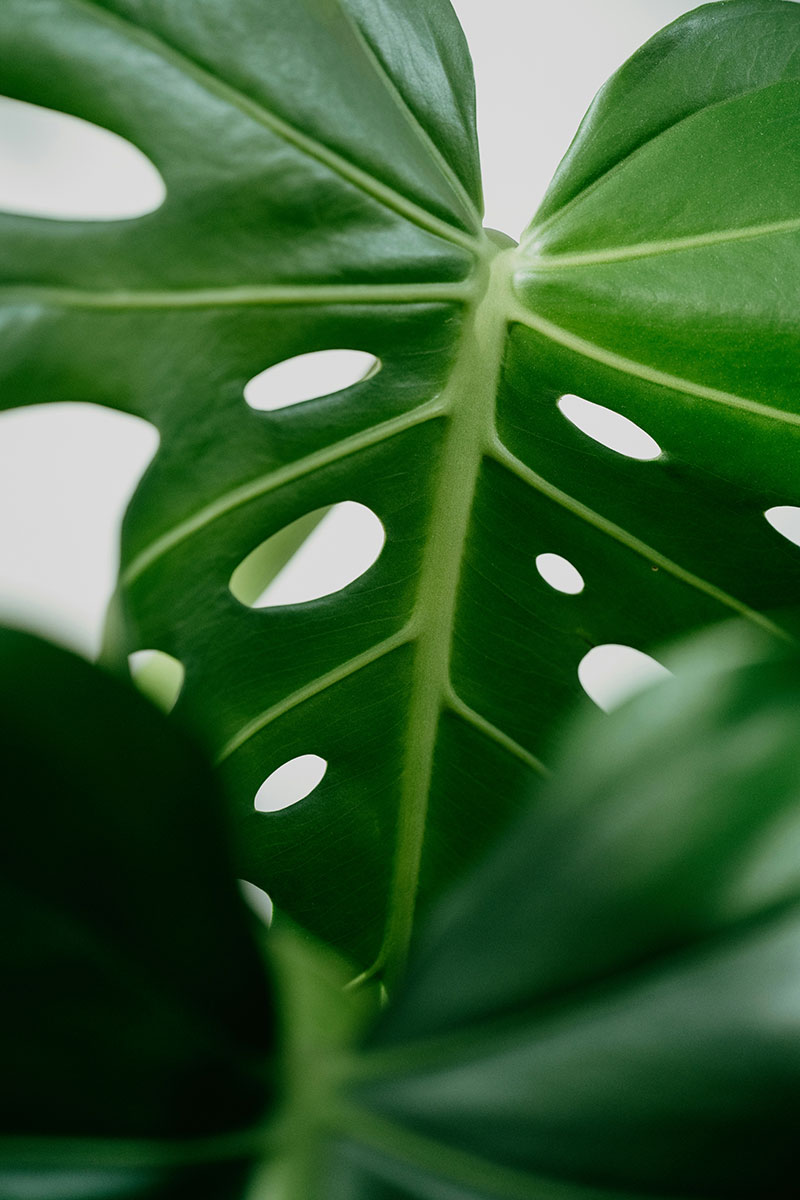
Purpose of aerial roots
Aerial roots provide Monsteras with support and stability, which is especially important as they grow larger and become top-heavy. These roots also help the plant absorb moisture and nutrients directly from the air, which is beneficial when the soil lacks sufficient nutrients.
Additionally, Monstera aerial roots can aid in propagation. A cutting with an aerial root can be planted in soil, where it will develop into a new plant.
4. Root Division
This method, best performed in early spring when the plant is actively growing, is an effective way to propagate and create new Monstera plants from an existing one.
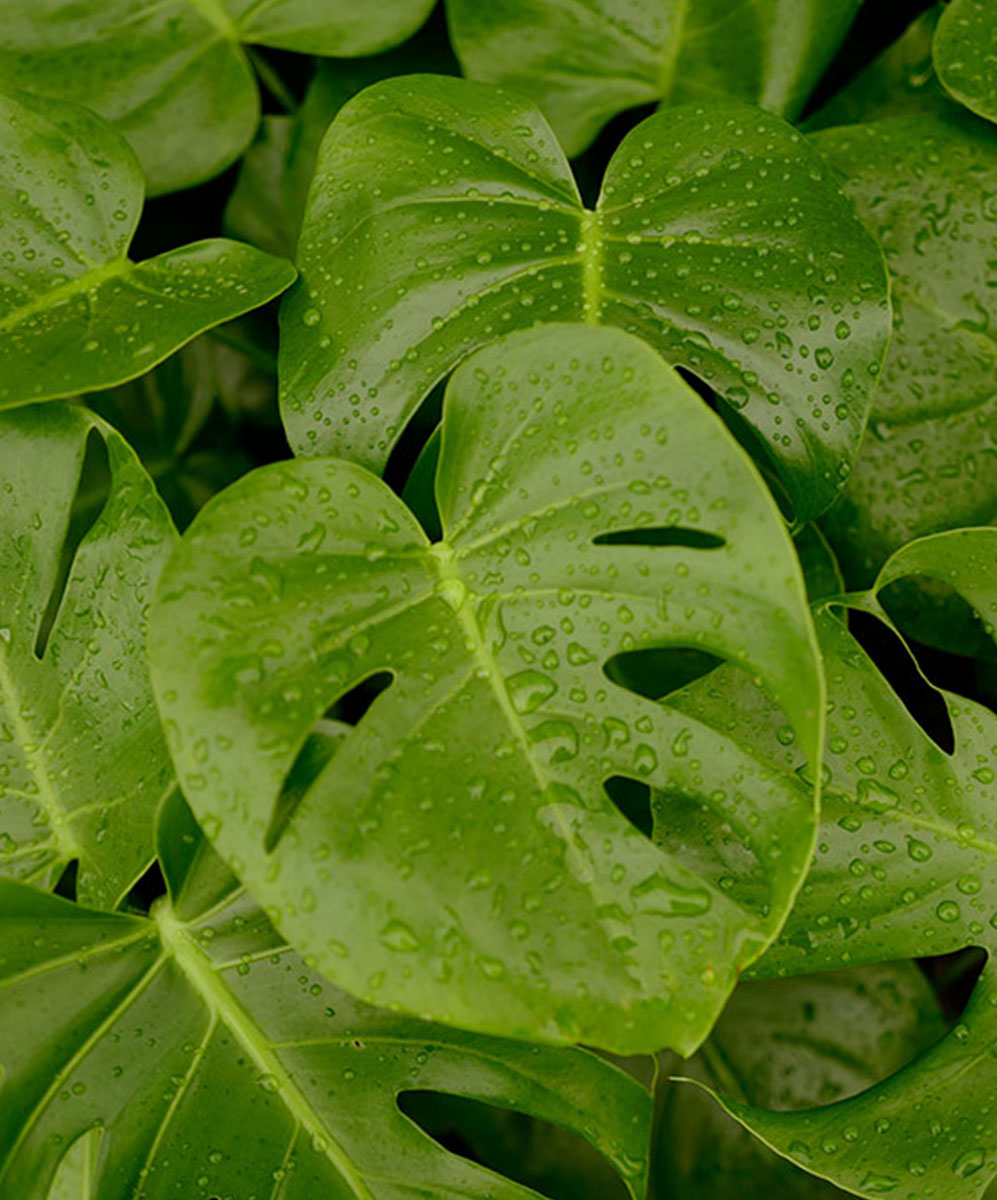
Popular Types of Monstera
The Monstera, often called the Swiss cheese plant or split-leaf philodendron, is one of the most popular houseplants. It is cherished for its glossy, heart-shaped leaves that develop striking holes or fenestrations as the plant matures.
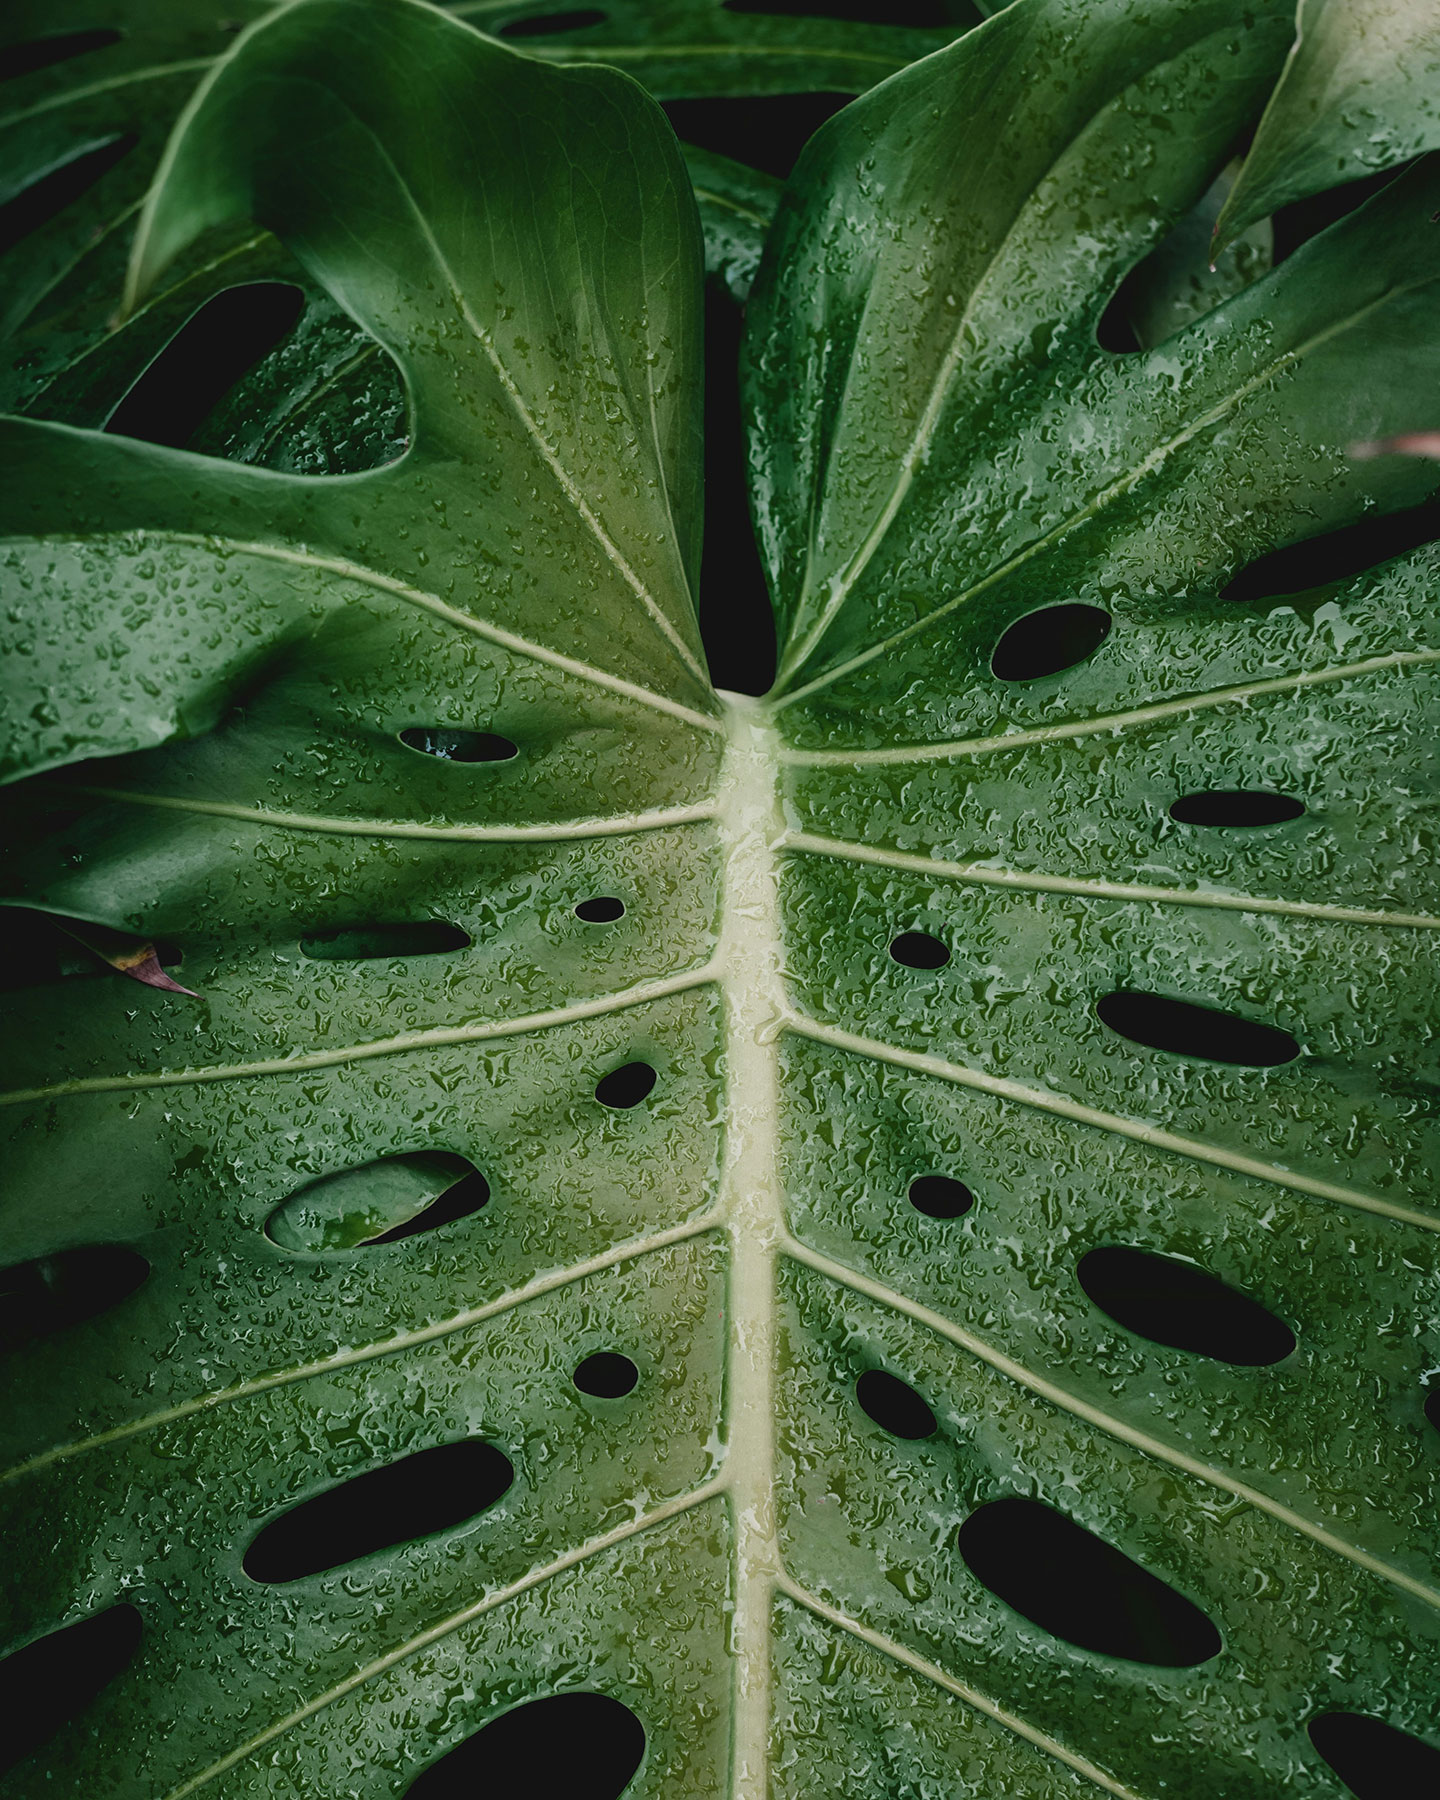
Monstera deliciosa
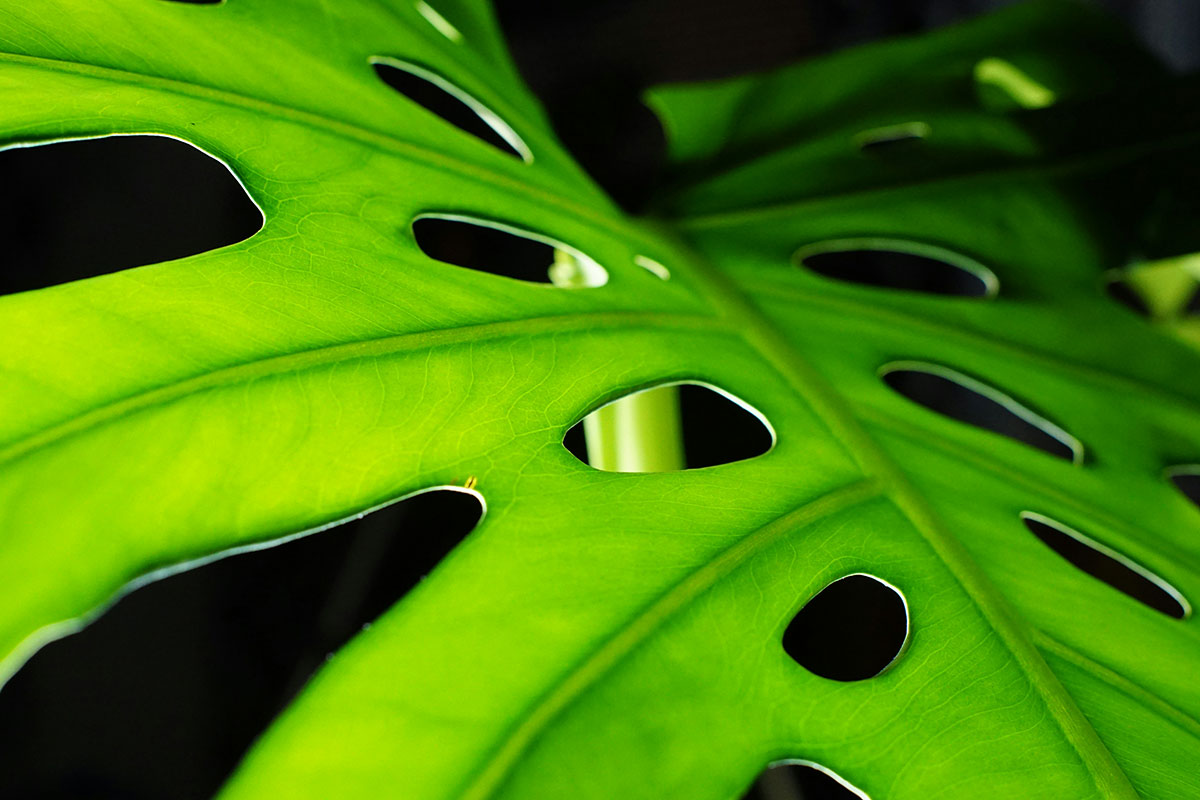
The most popular variety, Monstera deliciosa, is renowned for its large, dark green leaves, which can grow over two feet wide and feature distinctive natural openings.
Monstera adansonii
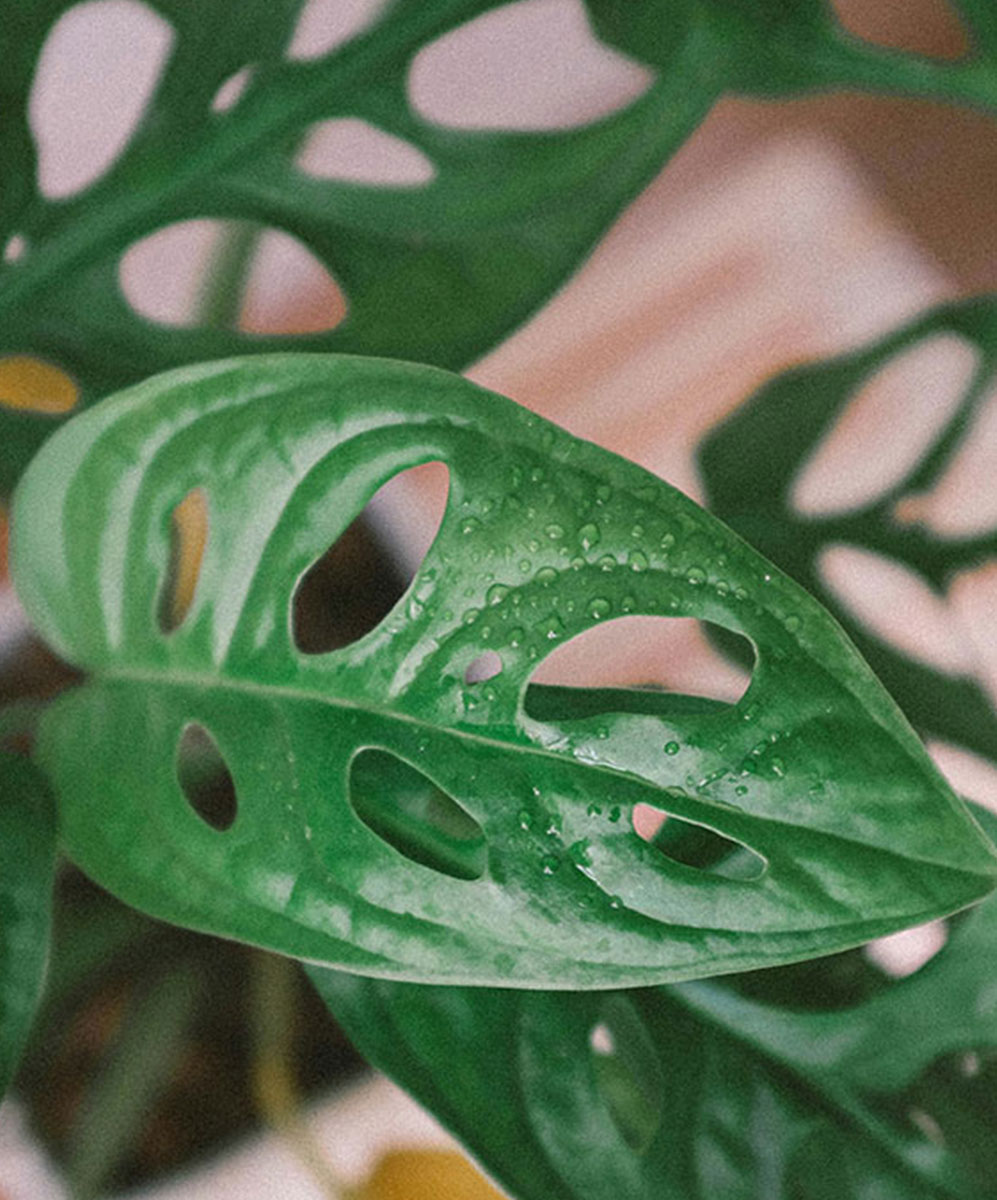
This variety is commonly called Swiss cheese plant because of its long, narrow leaves that have fenestrations running throughout the foliage. It’s pretty adaptable and easy to propagate, making it a great addition to any ones collection.
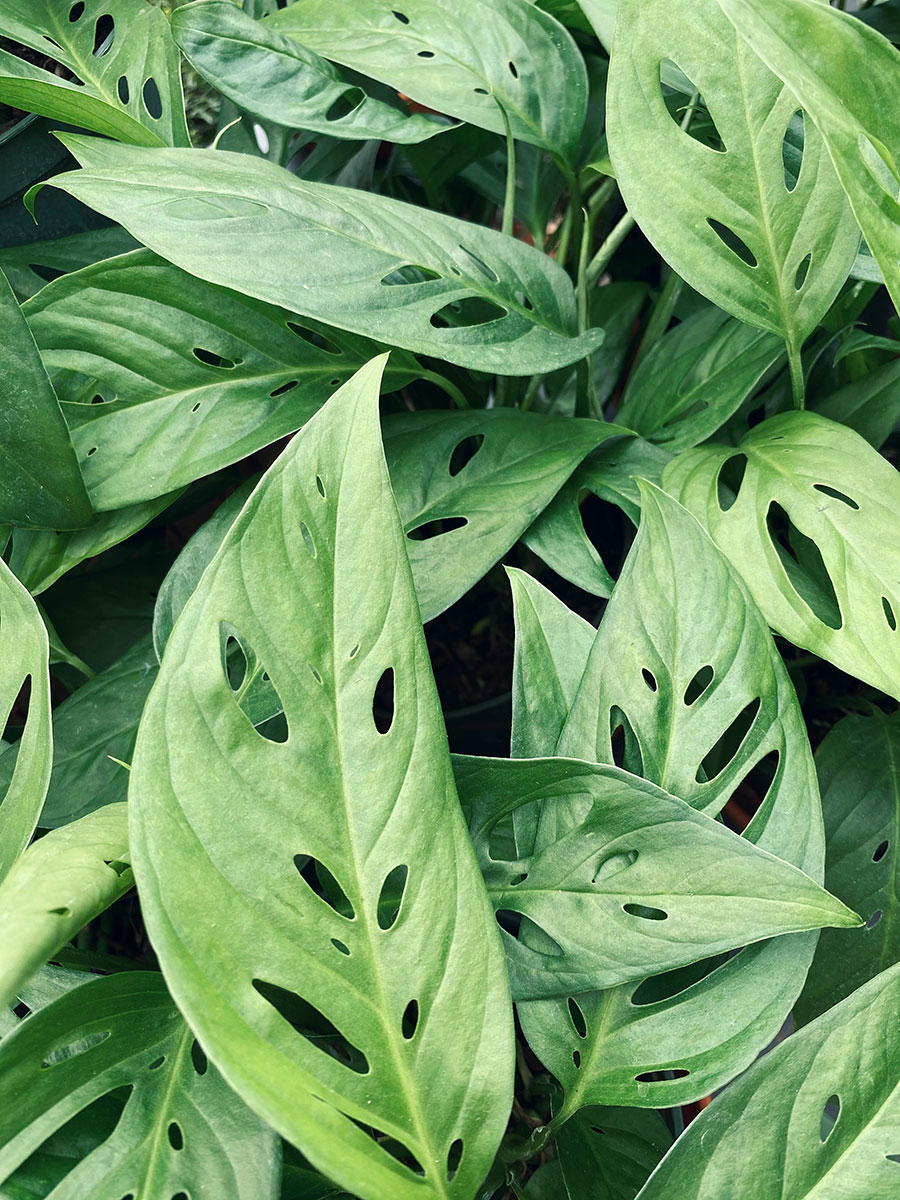
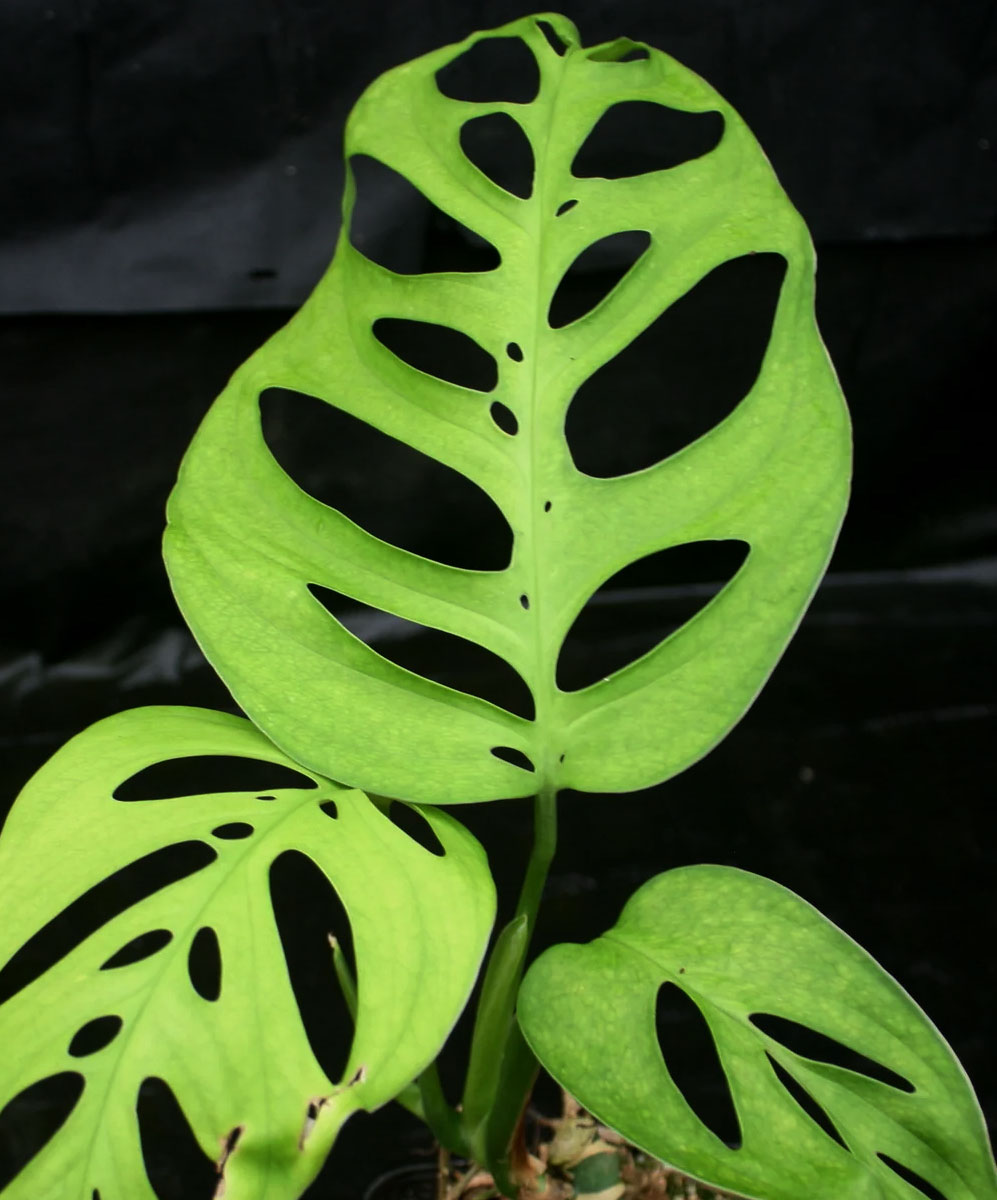
Monstera esqueleto
This hard-to-find climbing vine features large, bold leaves (to nearly 3 feet long at maturity) dramatically fenestrated with small holes near the center of the leaf and large holes closer to the edges, often features leaves that are more hole than leaf surface as it matures. Like Monstera deliciosa, it grows to 6 feet or more, making it one of the most stunning floor plants you can enjoy in your home.
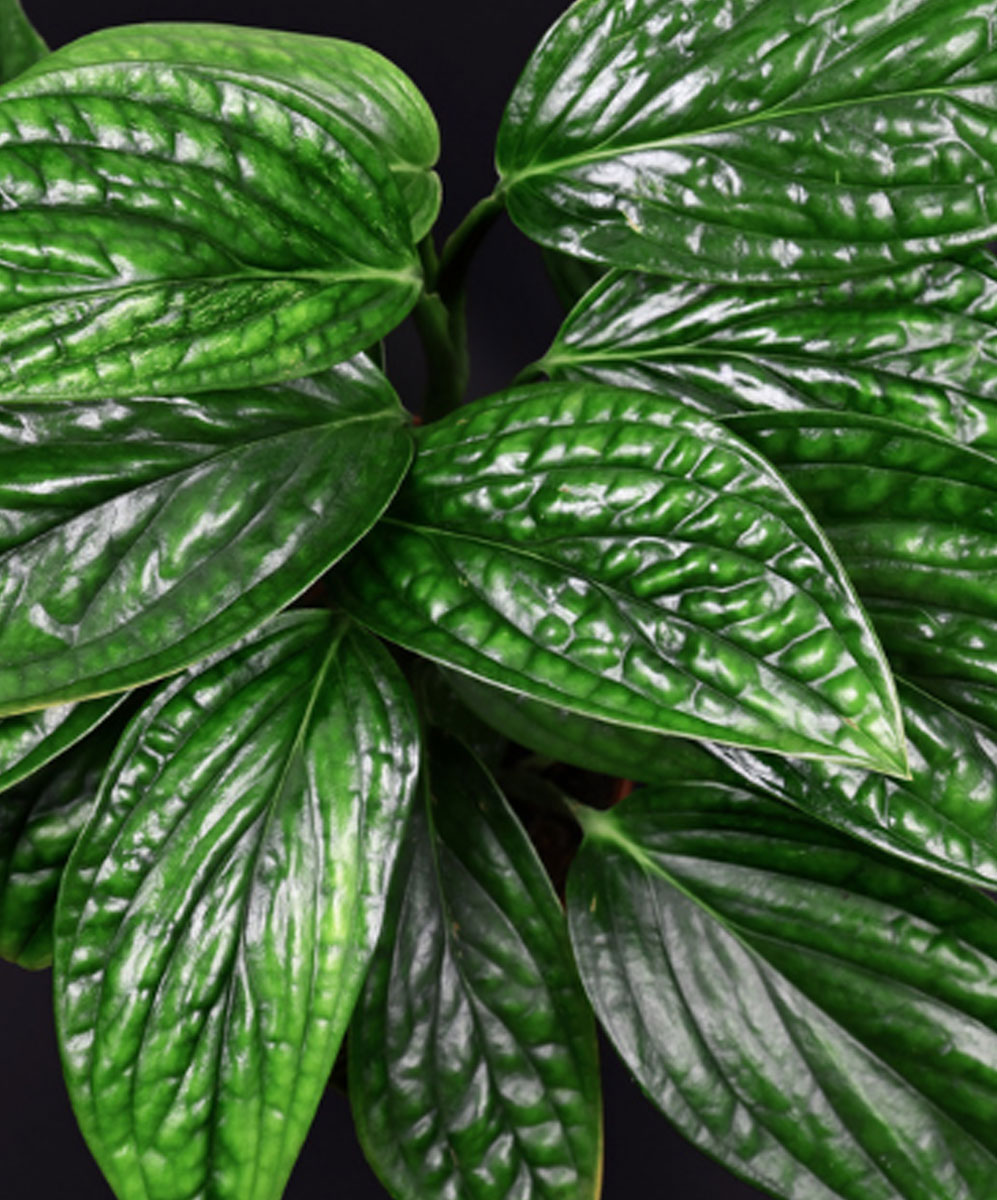
Monstera deliciosa ‘Peru’
Monstera standleyana ‘Albo Variegata’
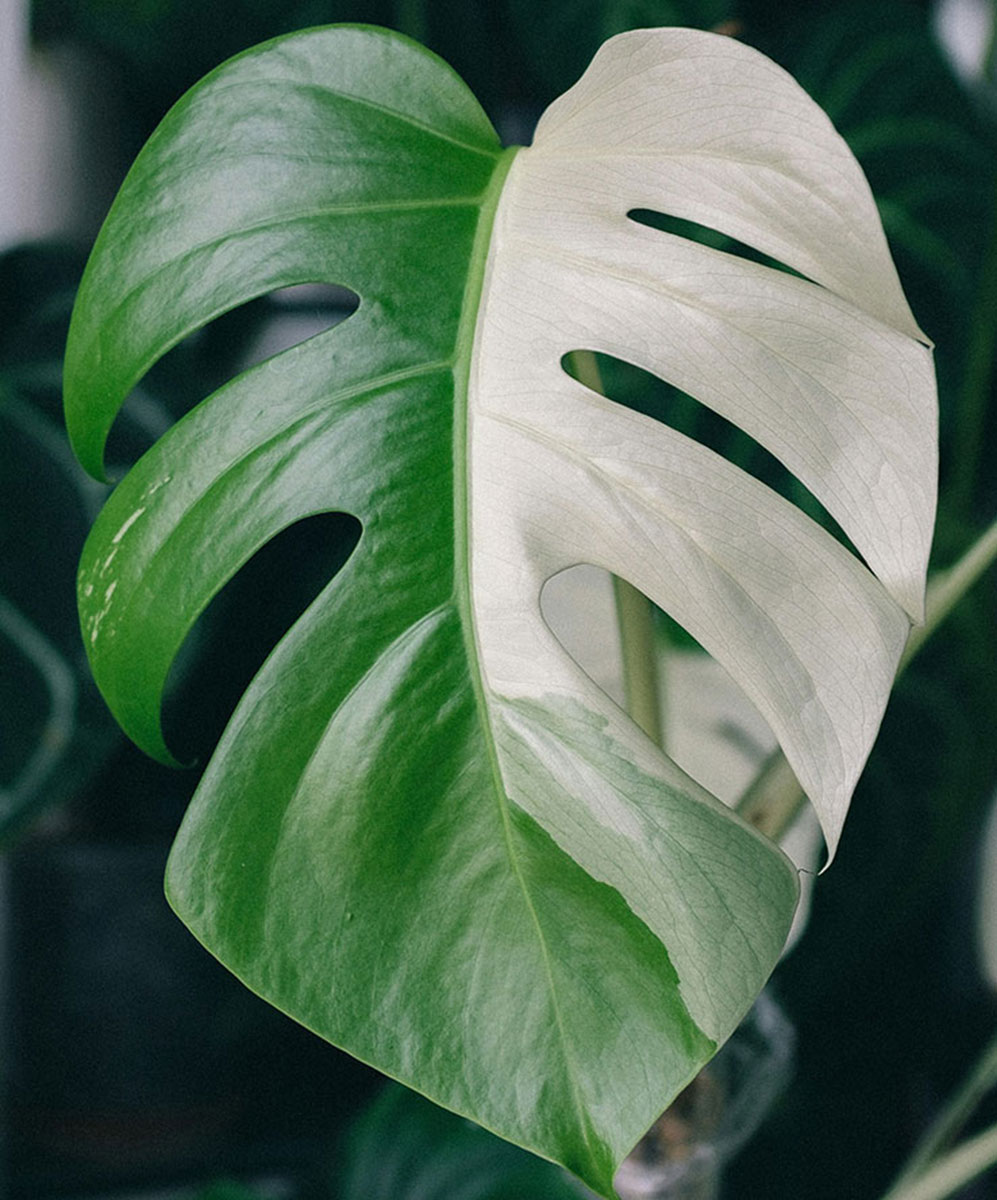
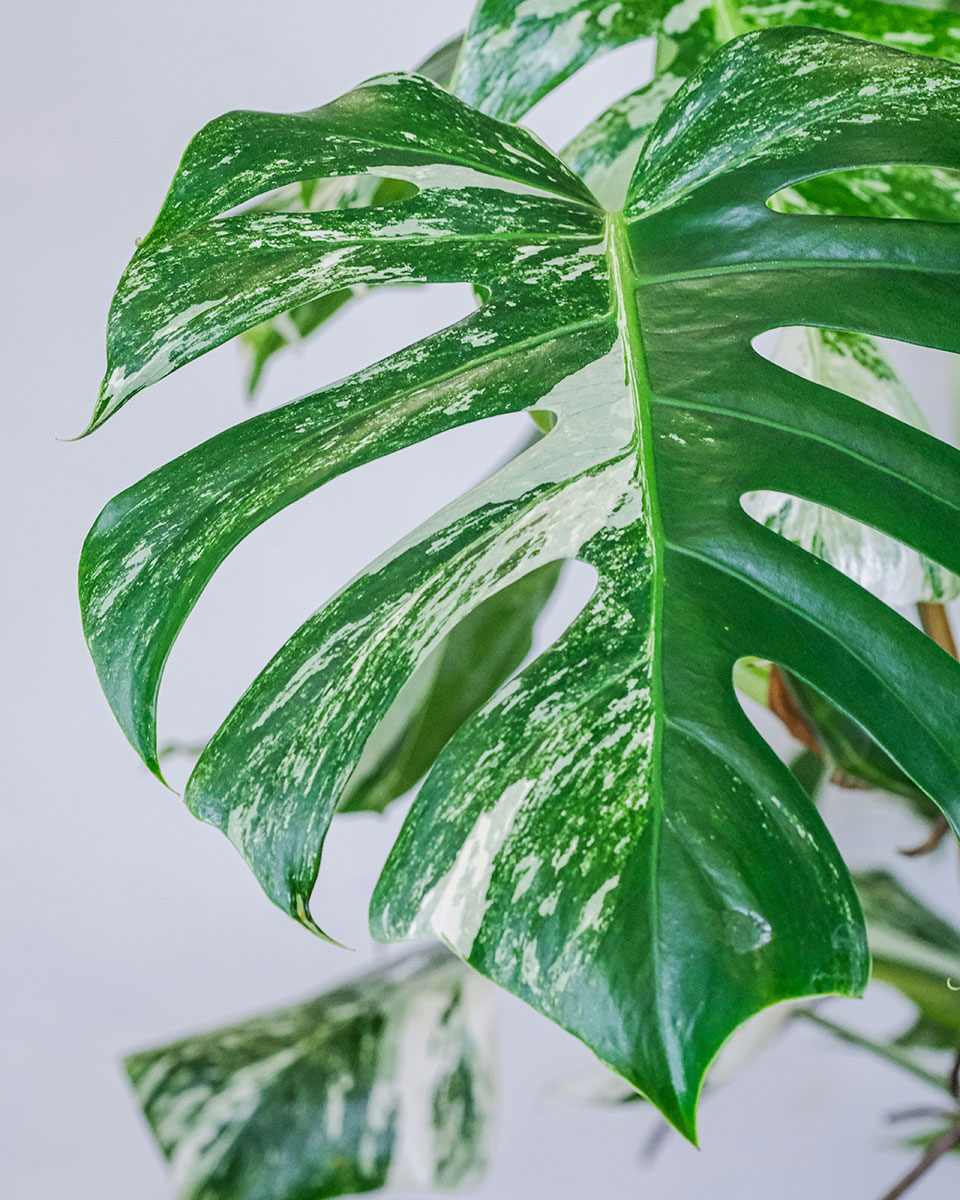
Monstera deliciosa ‘Thai Constellation’
